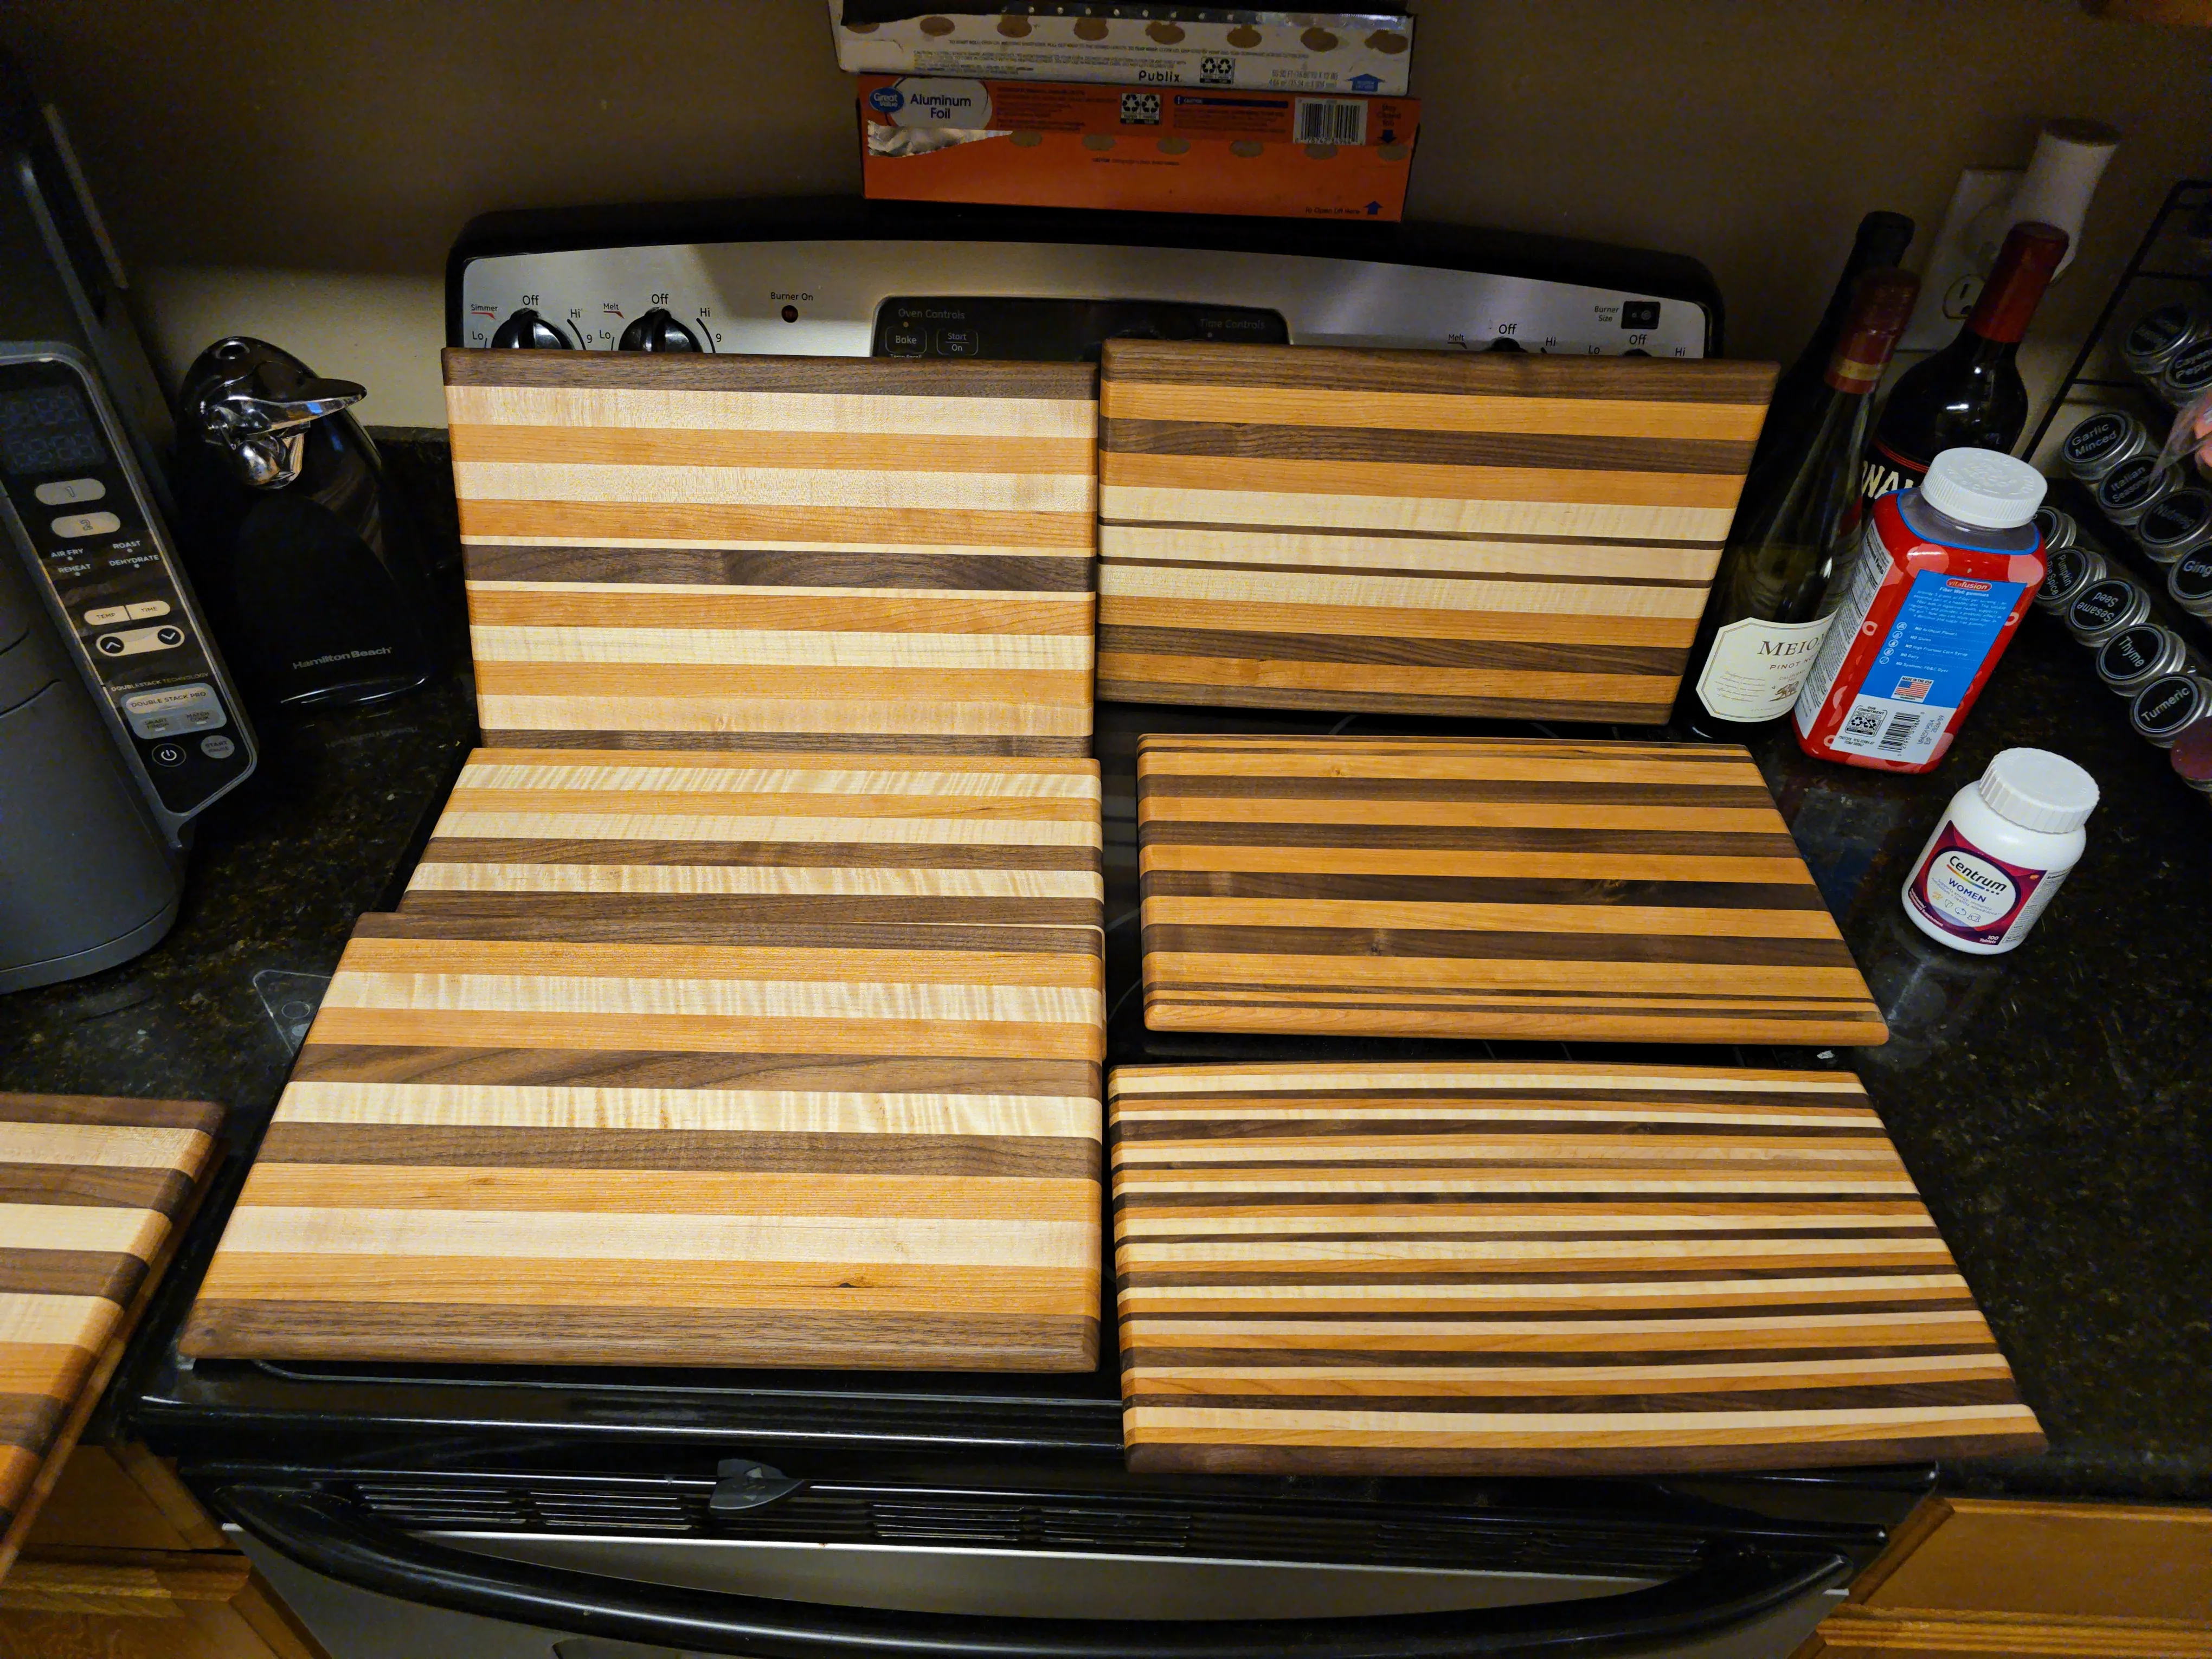
Cutting Boards
Flat edges or bust
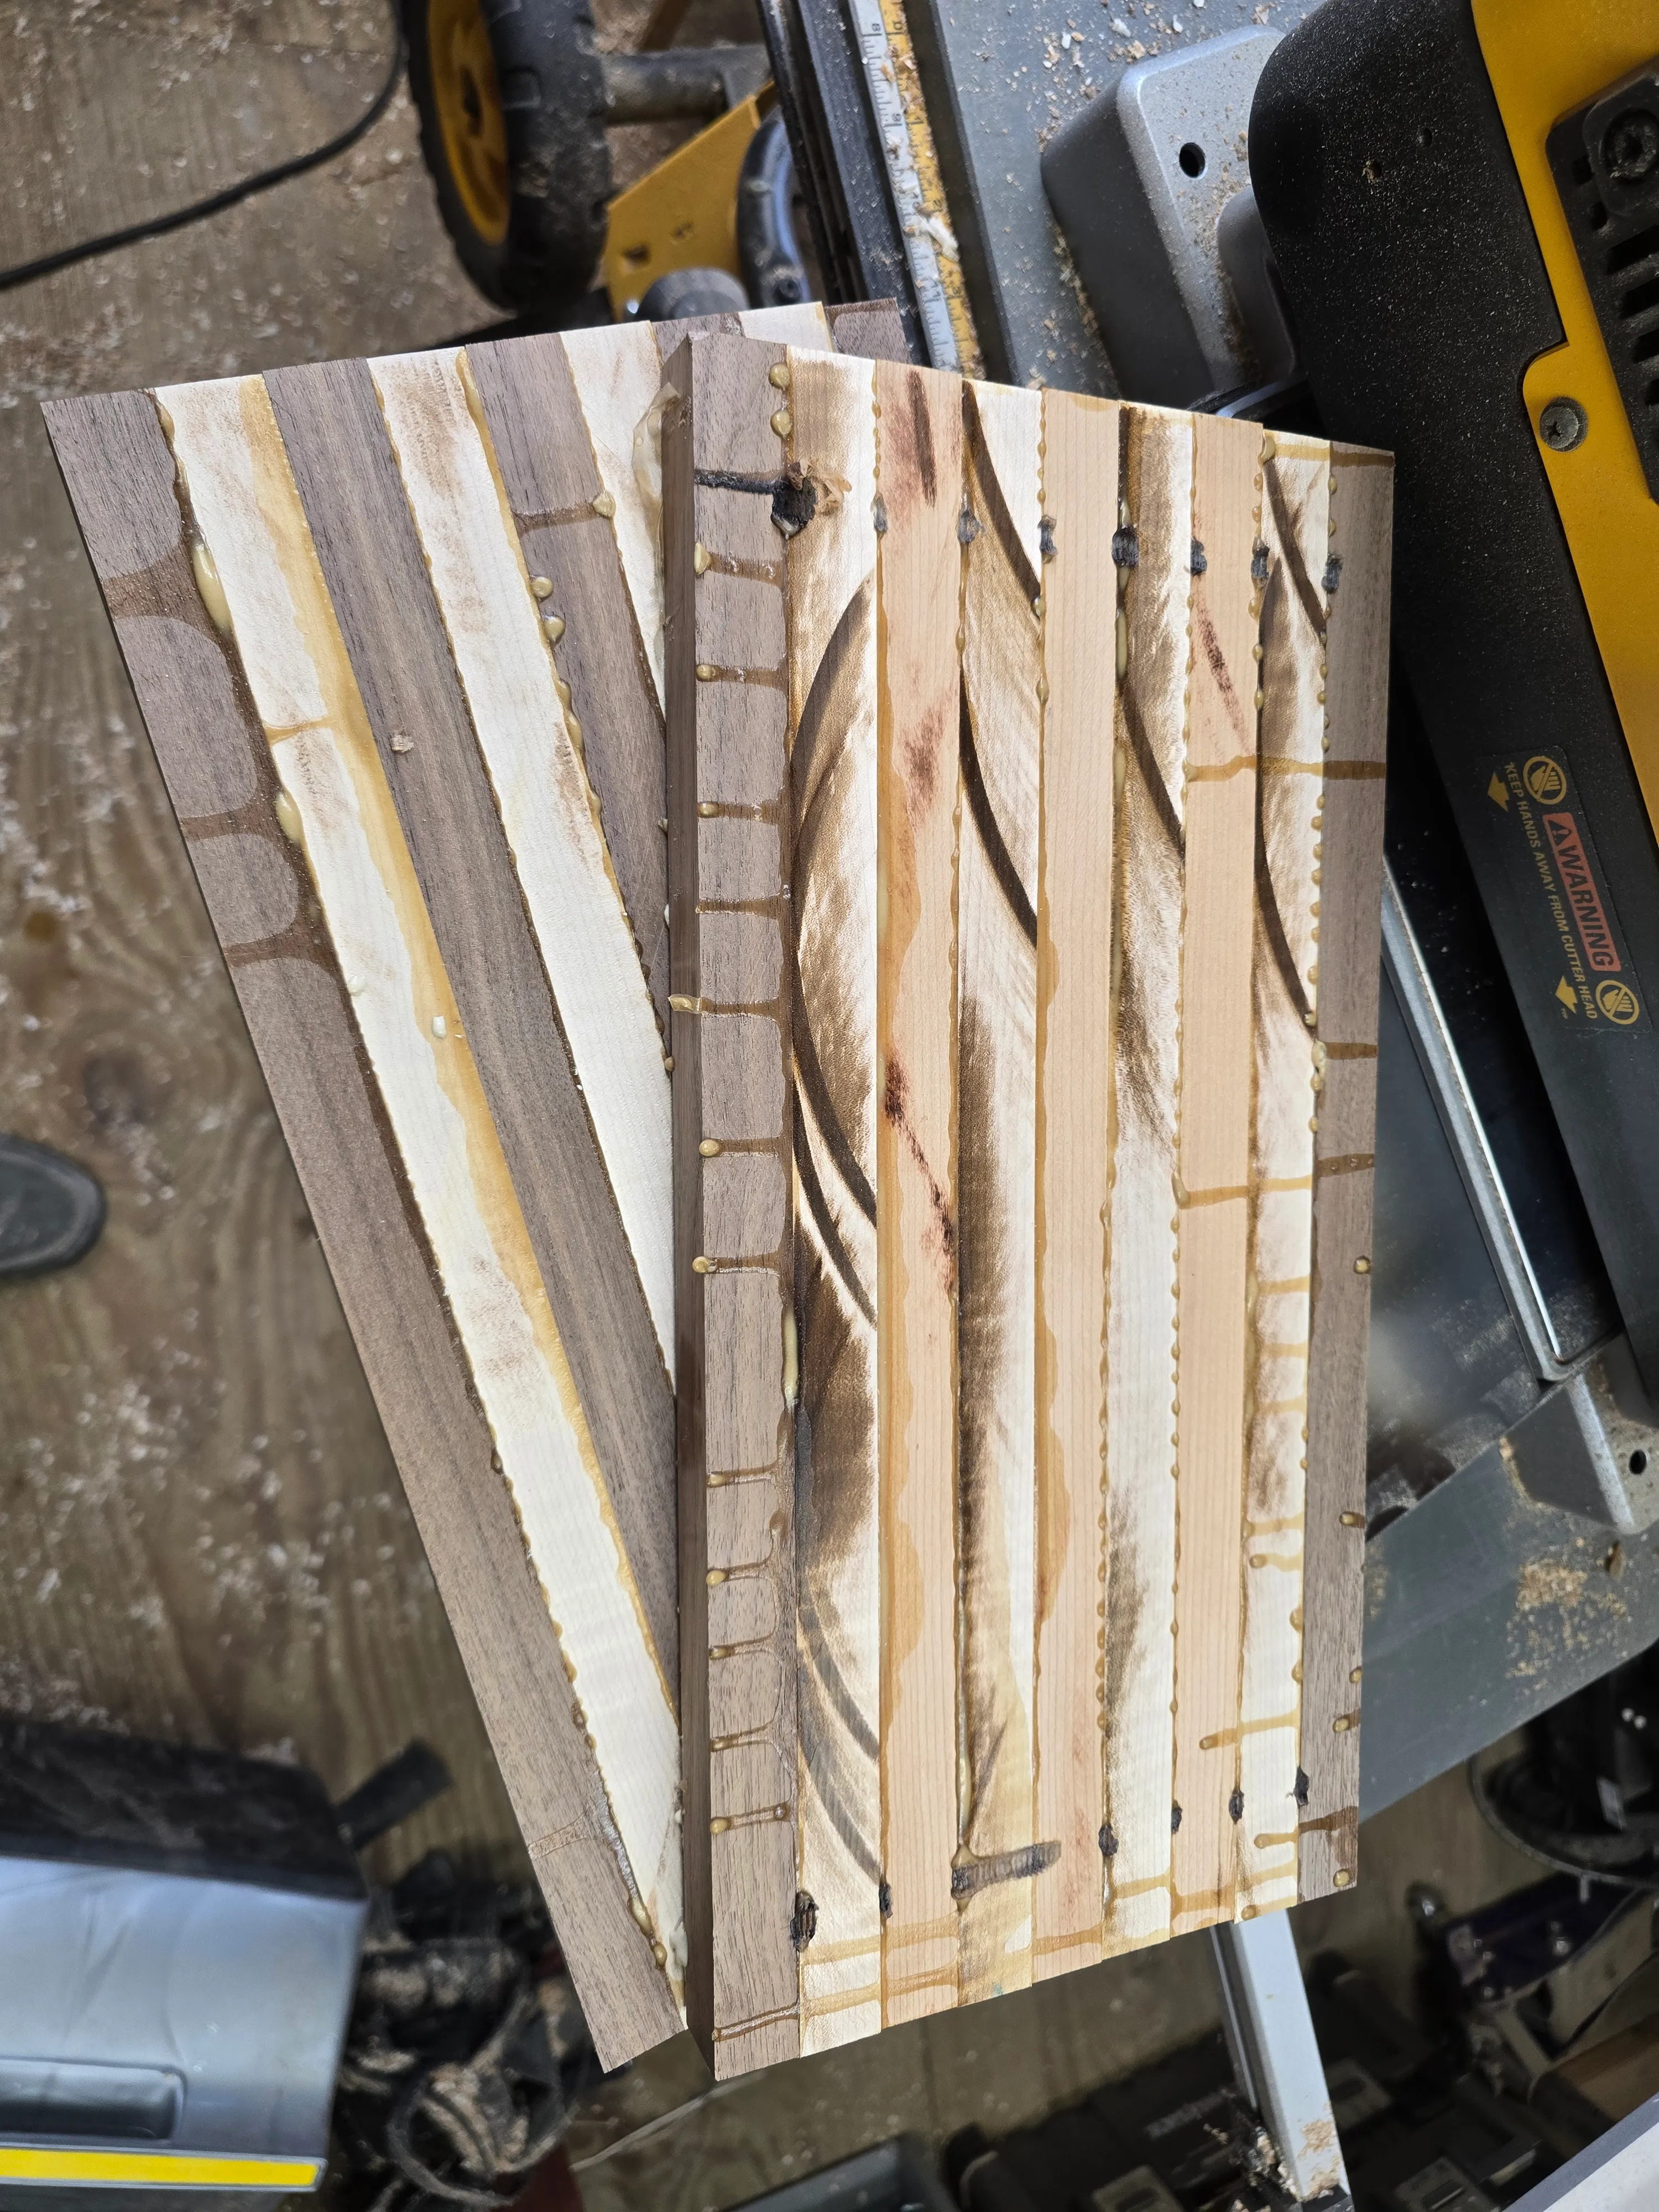
The whole batch runs on one non-negotiable: the edges you’re gluing together have to be dead flat. Not “looks flat,” actually flat — any gap in that seam, even a hair’s width, becomes a spot where the glue doesn’t fully seal, and a cutting board with unsealed seams is a cutting board that soaks up moisture and grime instead of shedding it. Porous, unsanitary, done for.
I found this out by failing it, twice. The first two strips I ripped got away from me on the table saw — they jumped slightly mid-cut, just enough to throw the edge out of flat in a way you can’t really see, only feel with a straightedge. I knew immediately those two weren’t salvageable as real boards, so I didn’t bother trying — I finished them anyway with a hand plane, purely as throwaway practice, since I didn’t own an electric planer yet. Flattening an edge by hand takes actual hours, and it’s miserable enough work that it’s the entire reason I went and bought an electric planer before starting on the boards that actually made the lineup. Run a glued-up blank through the planer instead and the same job that ate an afternoon by hand is done in seconds.
Bloodwood bleeds
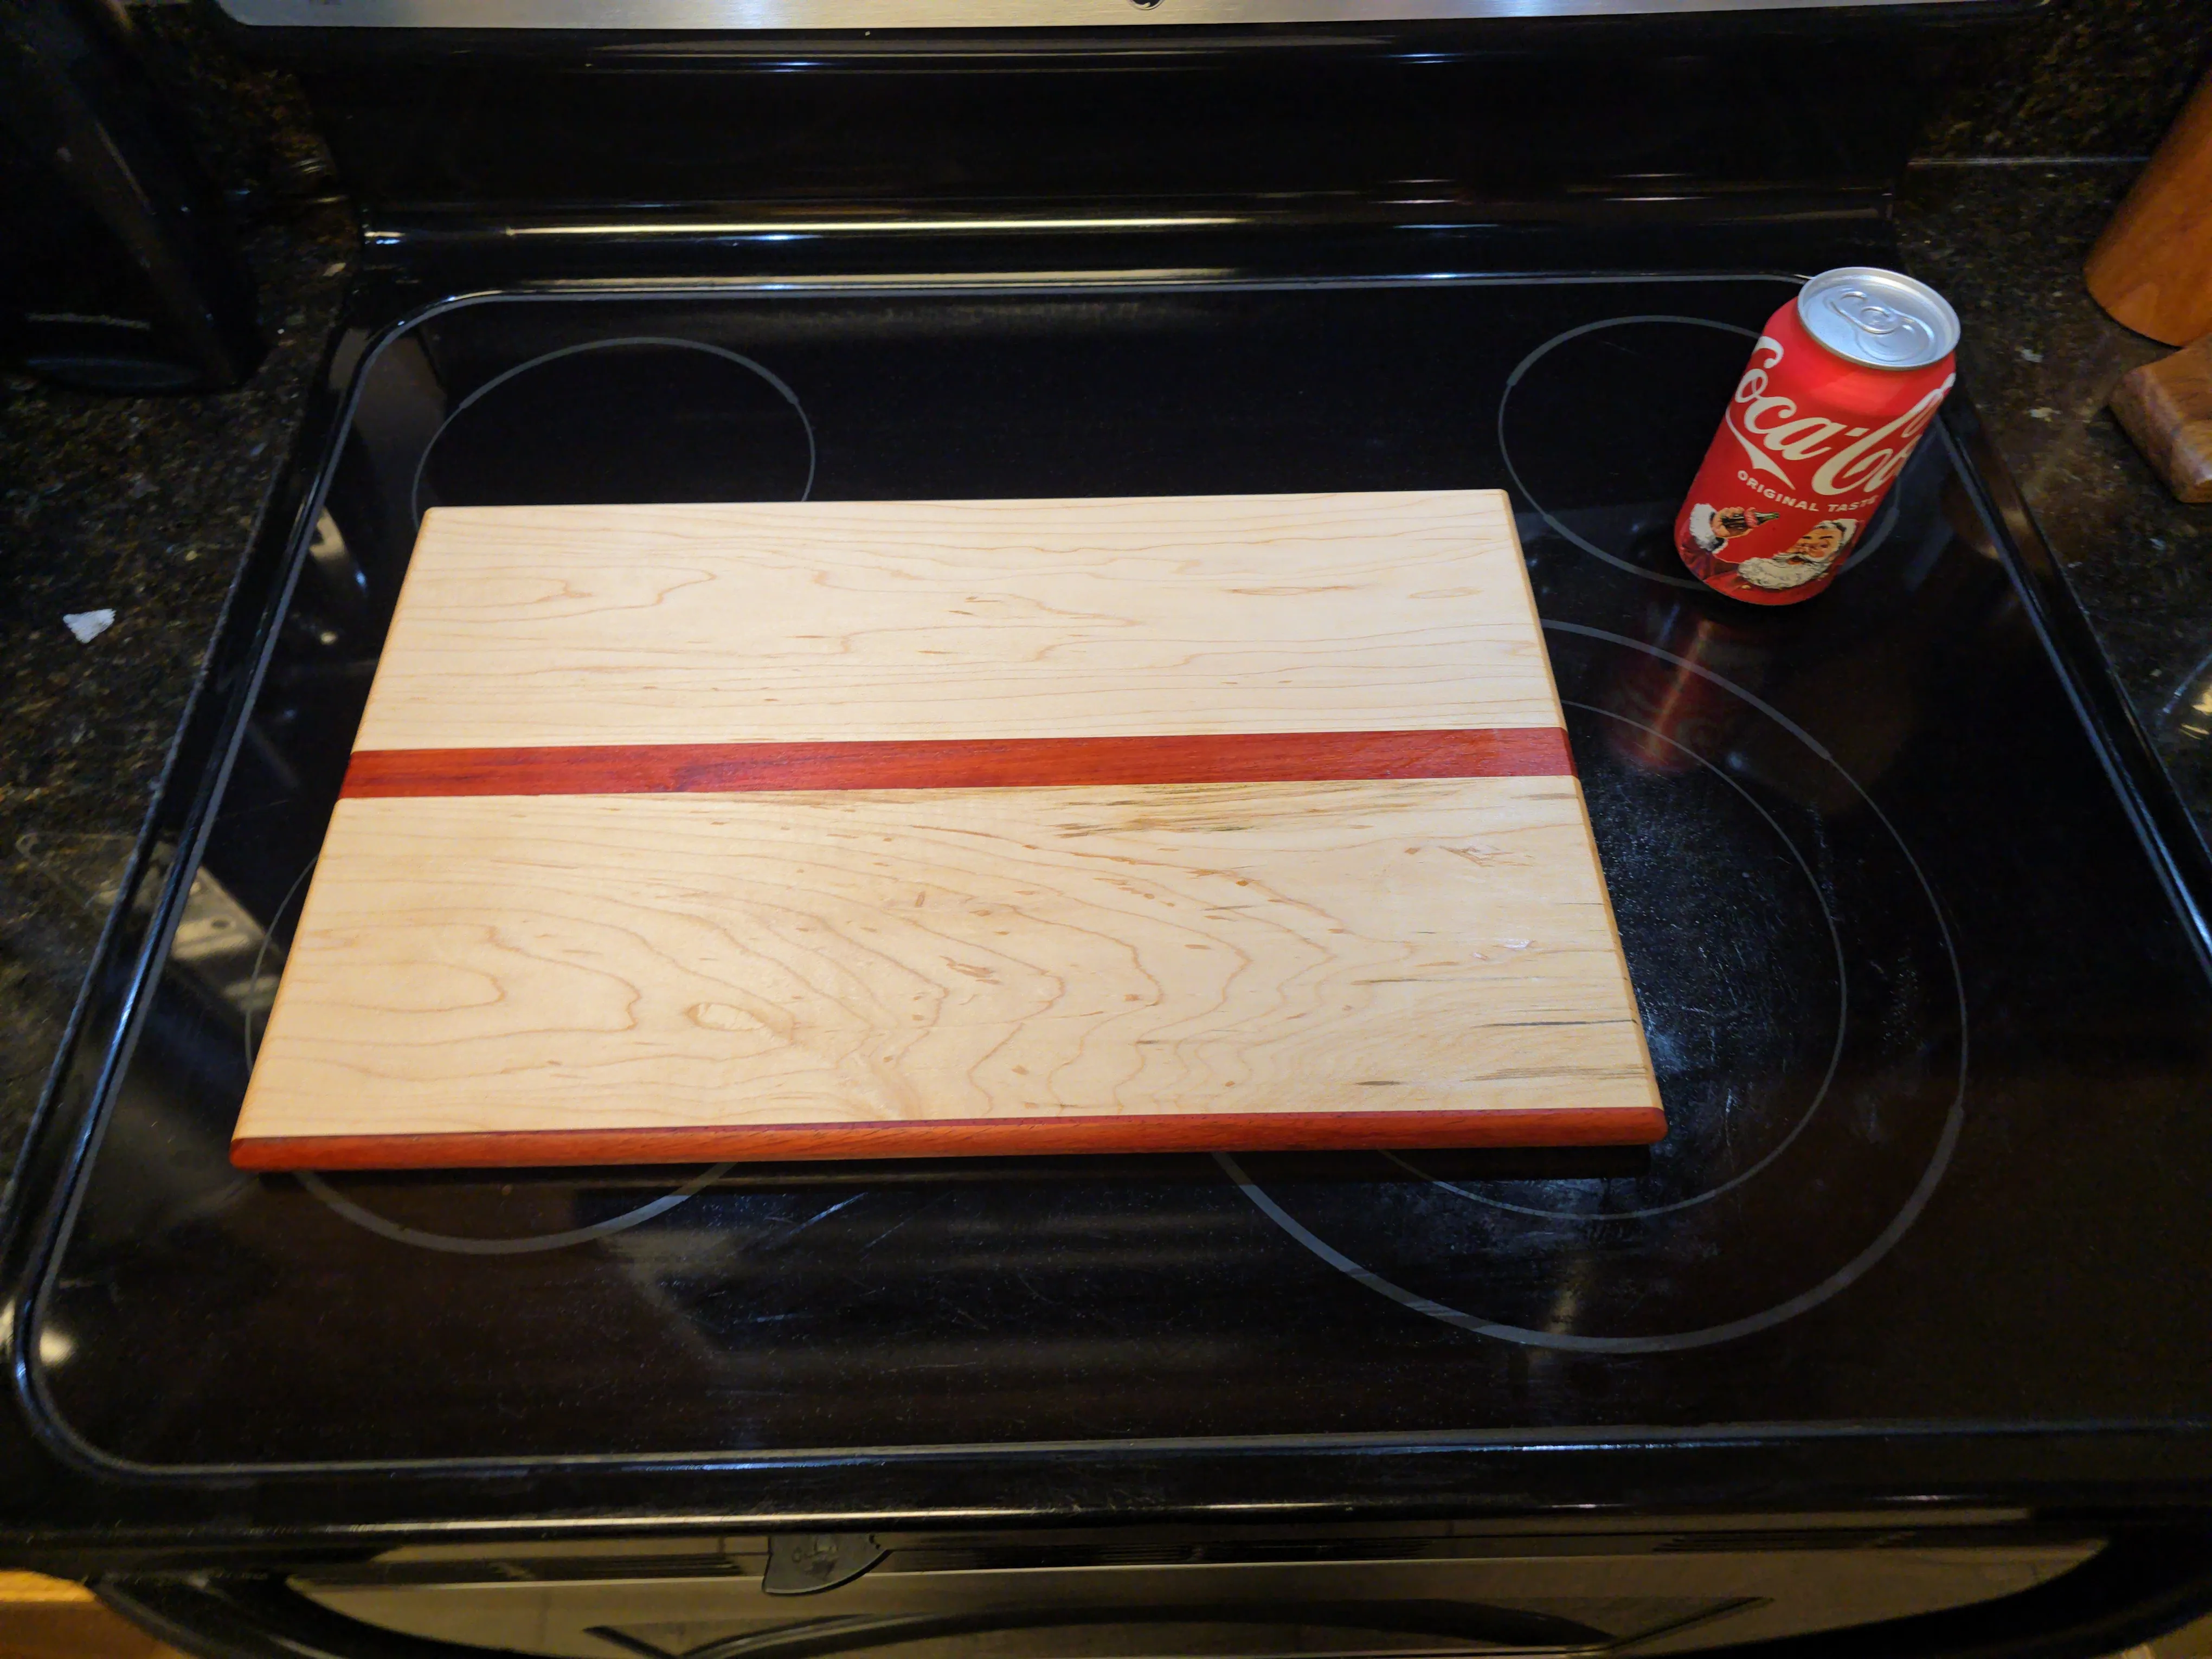
Bloodwood was the most fun of the four species to cut — genuinely pretty stuff to work with. It also lives up to the name: it bleeds red dust everywhere, and if that dust isn’t fully cleared off before the surface gets wet (sanding water, finish, anything), it stains whatever light wood is next to it. Maple takes a red blotch from bloodwood dust almost instantly. Neat effect if you want it. Not what I wanted here, so it meant an extra pass of dust removal before wetting the strips down for the raised-grain sanding step.
Glue-up and flattening
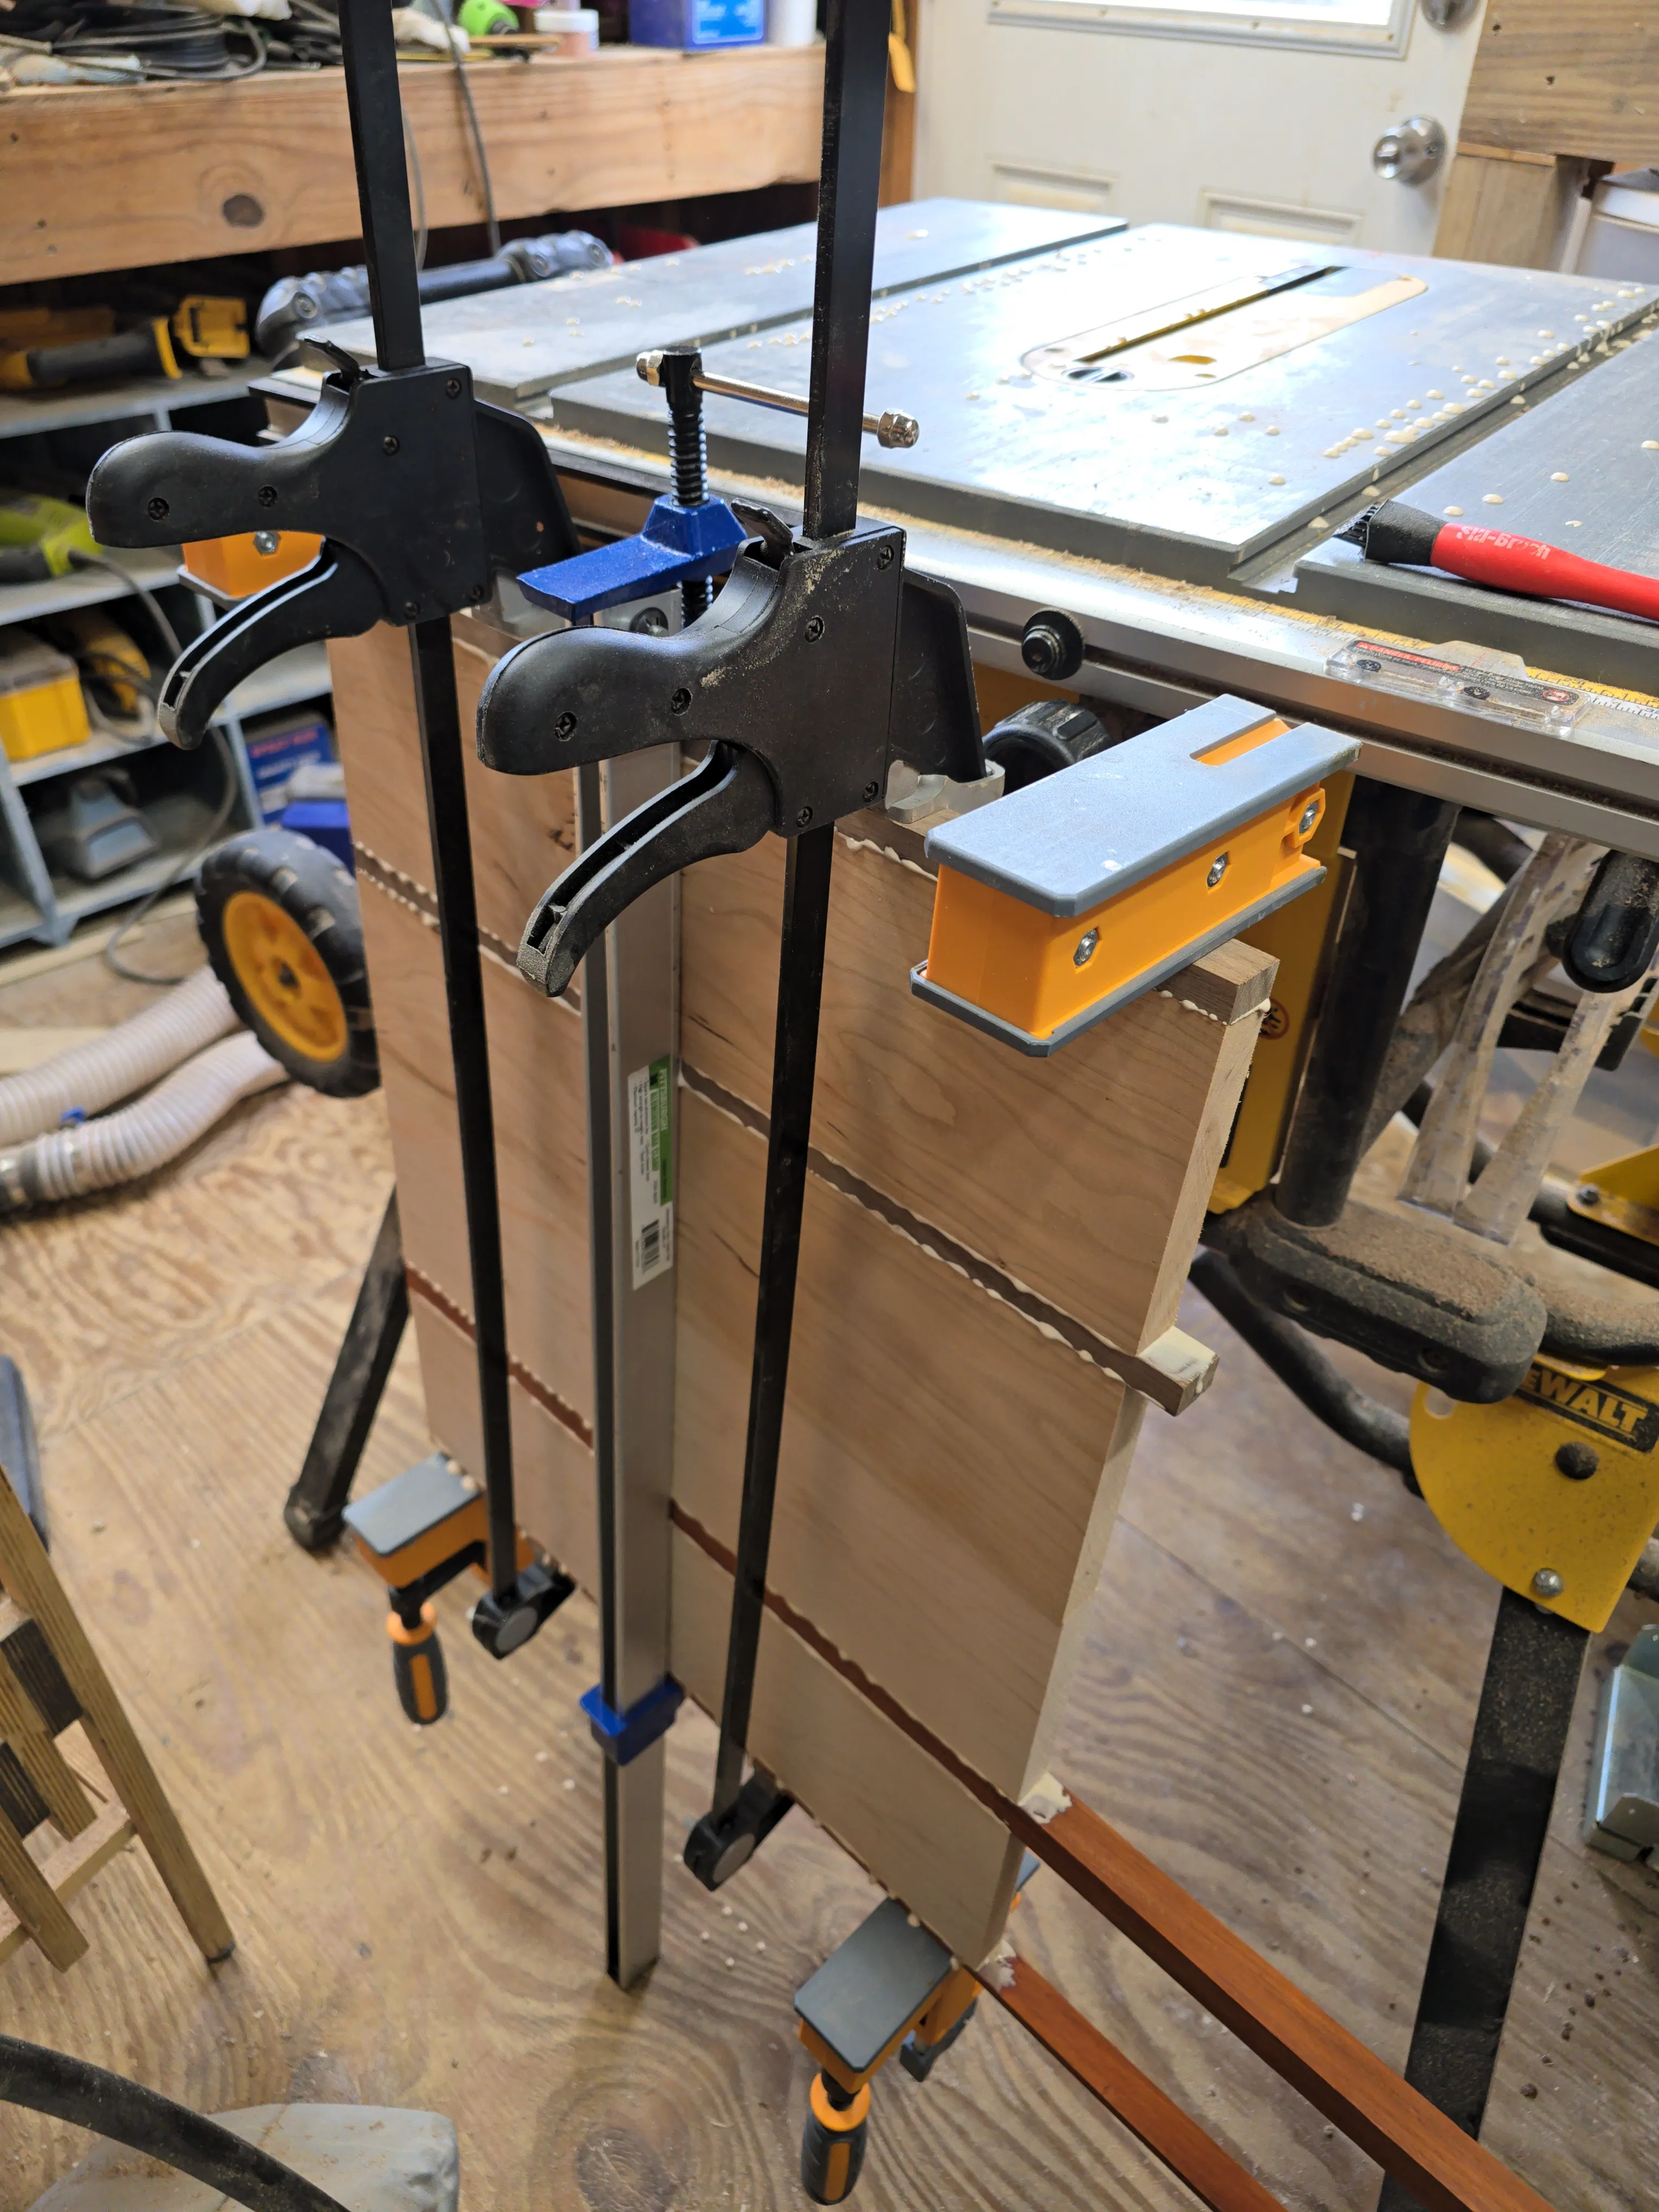
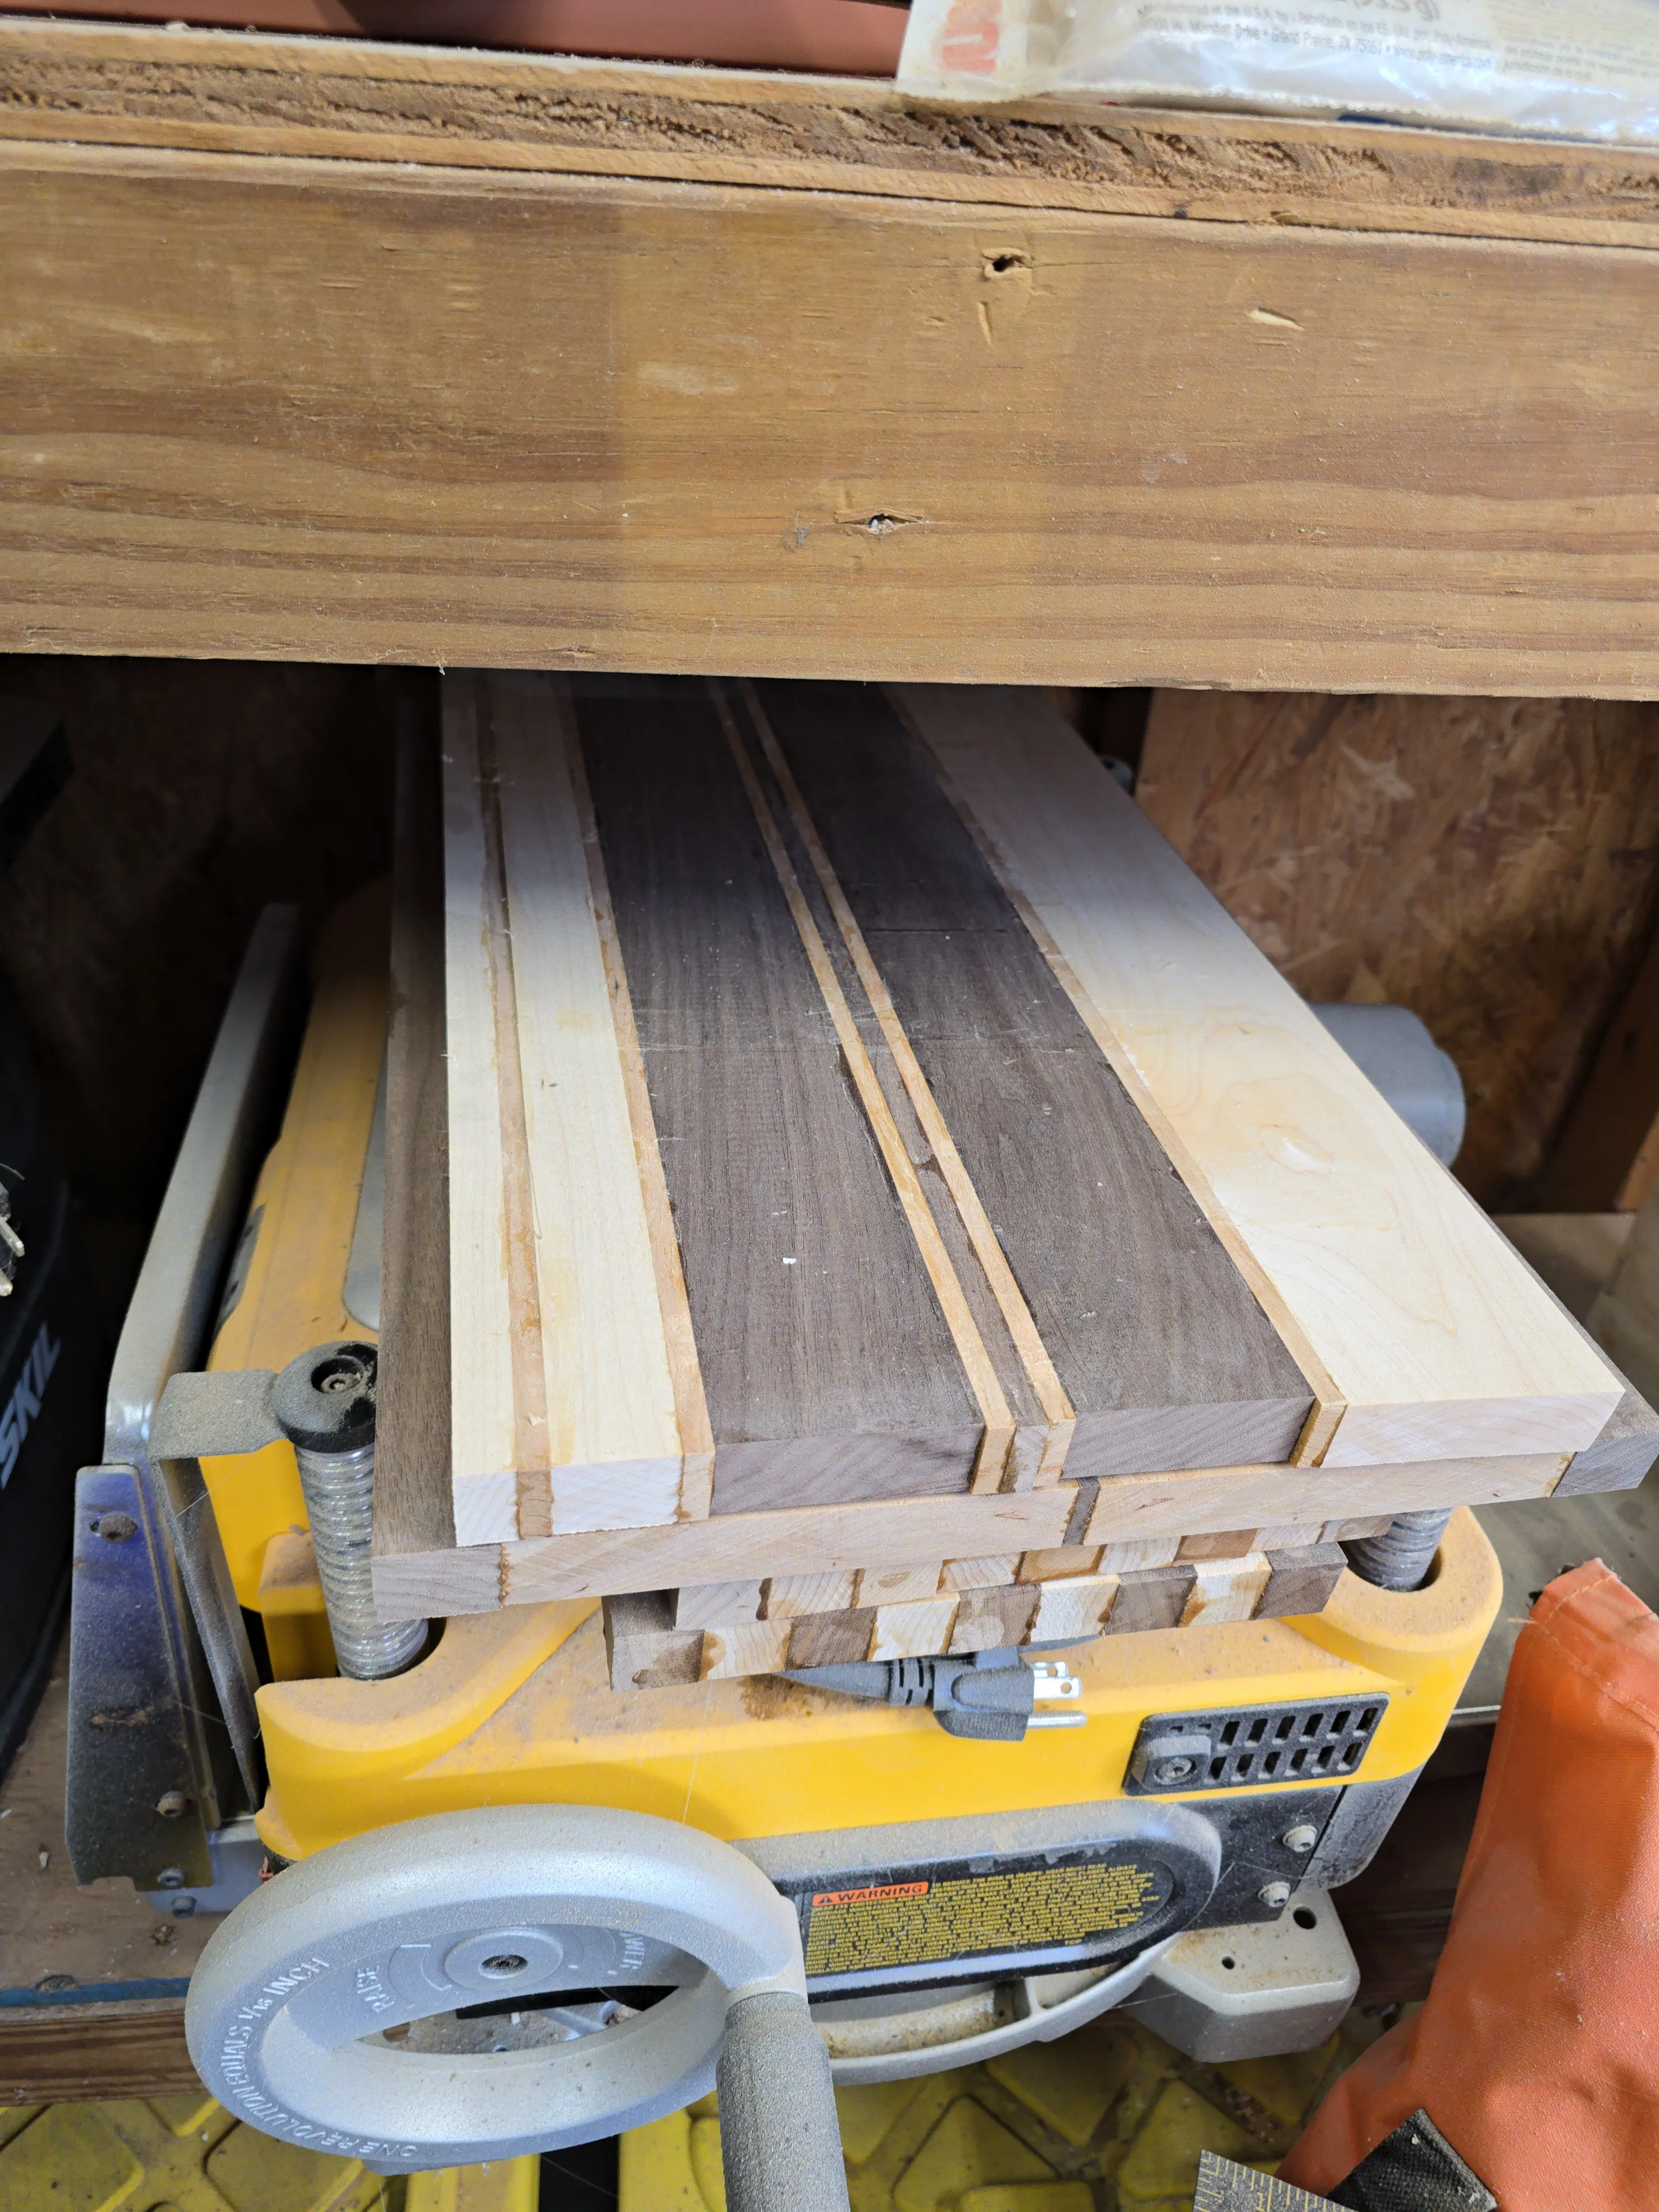
Once the edges were actually flat, the rest of the process was simple: rip strips off spare stock, glue up, clamp, and let it sit overnight — a full day to dry before touching it again. Once cured, the blank goes through the planer to bring the whole board flat and to final thickness, in a fraction of the time hand-planing ever managed.
A quick round-over pass on the router softens the edges for an easier grip pulling a board off a wet counter. This is also where rushing bit me a second time — a couple of edges tore out because I ran them in one pass instead of two or three, and didn’t pay enough attention to which way the grain was running before pushing wood through the bit.
Finish
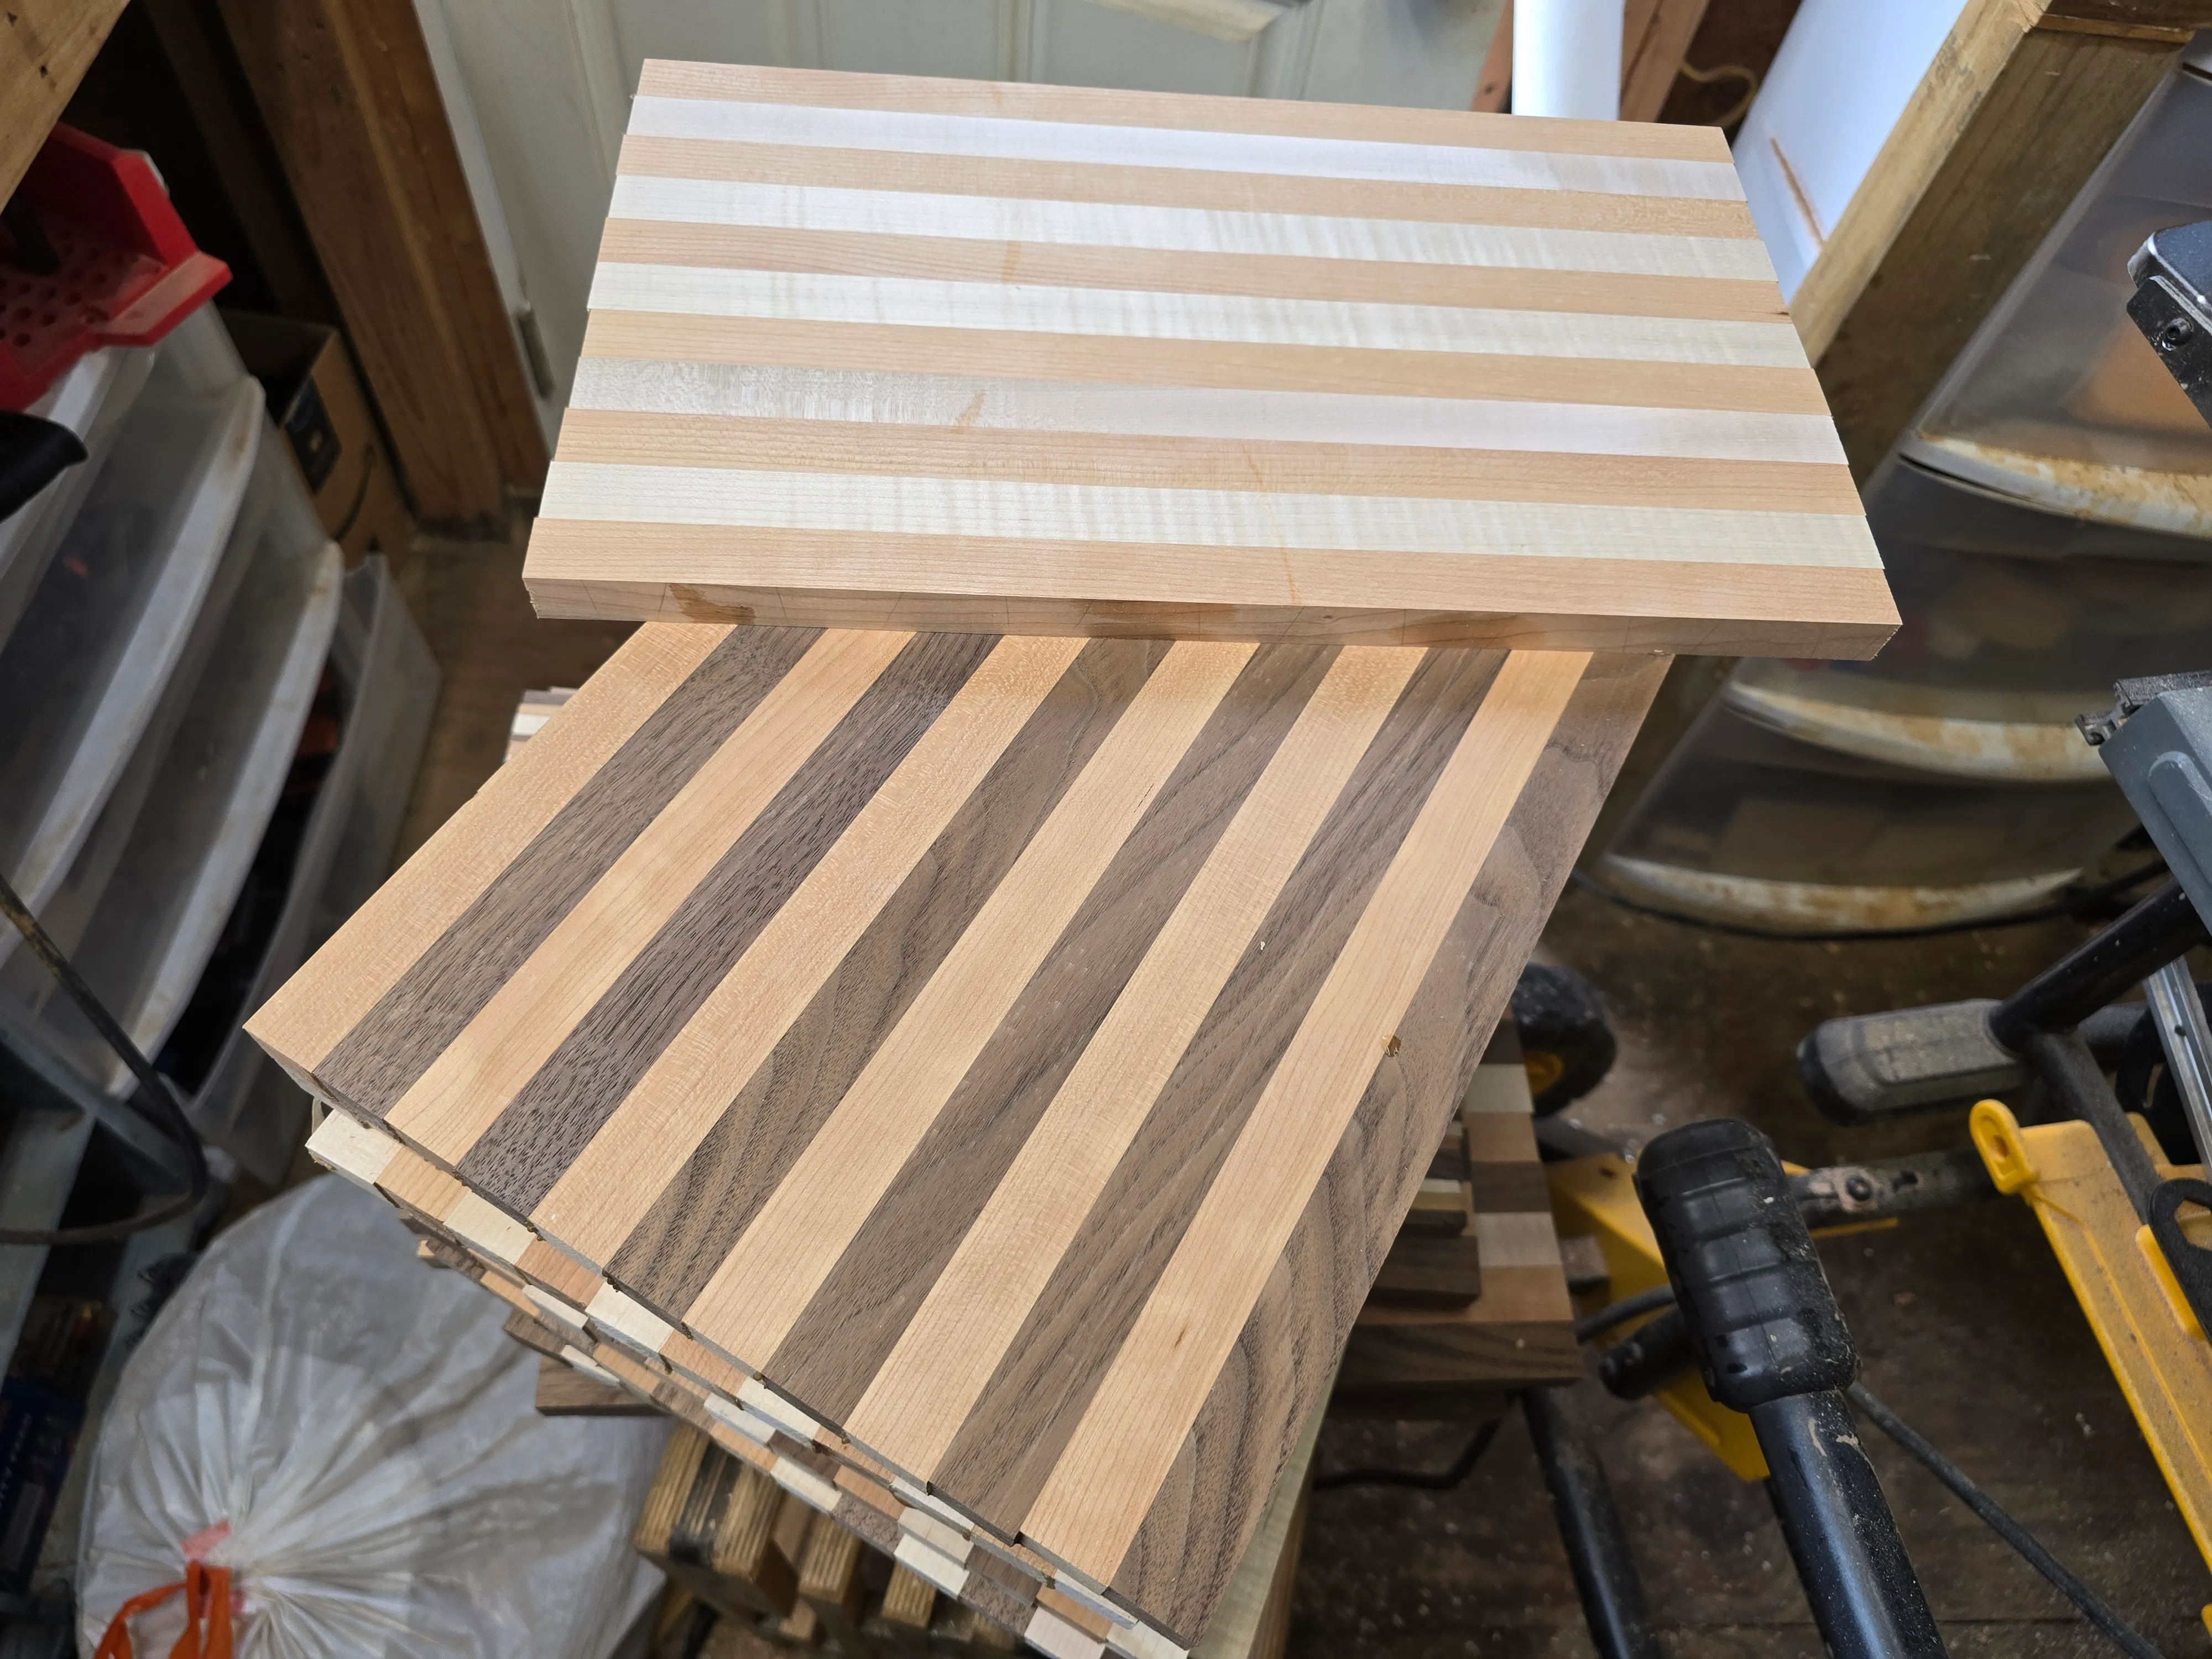
Sanded up through about 200 grit, then wet the surface slightly to raise the grain and knock off any leftover dust before a final pass at 200 to keep things smooth in use. Let everything dry fully before oiling.
Straight mineral oil used to be my go-to, but I switched to Walrus Oil for these — it’s mineral oil blended with wax and a few other additives, and it seems to hold up longer between reapplications than plain oil alone.
Timeline and gifting
Call it a two-day build if you count the overnight glue cure — strip, glue, and clamp on day one, then plane, sand, and finish on day two. The actual hands-on time was only a few hours; the rest was just waiting on glue.
Since most of these went out as holiday presents, I put a bit more effort into the presentation than usual — each board came with a small sample bottle of the oil and a printed card with basic care instructions and a short note about the wood species used.